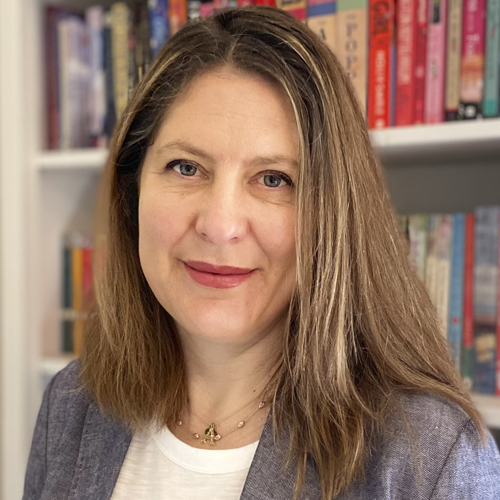
Fremantle Press CEO Alex Allan explains the Dos and Don’ts of gathering images for publishing consultancy clients

So your organisation has decided to publish a book. You plan to use Fremantle Press as your publishing consultant and you’re now busy creating the book’s content. You’ve found a writer, who’s well underway with the text. But what about images? You know you want the book to be visual, but you’re not quite sure what Fremantle Press will need. When and how do you gather image files?
The image selection process
Once we’ve signed an agreement, at Fremantle Press we appoint a project manager to help you get your content ready for production. We understand that content takes time to create and that things can change.
In the first instance, our project manager will ask to see your full collection of potential images. This may include dozens or hundreds of images. If you already have high-resolution digital files approved and ready to go, well done for being super organised! But if you have a range of prints, slides and low-resolution files, that’s perfectly fine for now (as long as high-resolution images can later be obtained – for example, you have a small reference image of an artwork, and the high-resolution image can be obtained from the art gallery). At this stage, images do not need to be professionally scanned, since many will not be used.
Our team, which includes an editor and a designer, will review your material and help you cull the hundreds of images down to a shortlist, based on editorial relevance, variety and quality.
Once production is underway, we’ll need high-resolution digital files of your images. Bear in mind that if you don’t own the copyright to an image, you will need to get written permission from the copyright owner before supplying it to us.
You’ll have the opportunity to review image size, crop and position, and our team will make suggestions for image use throughout the process, guided by the designer’s visual expertise. Here are a few tips on how to make this process run smoothly.
Do:
- Select images that are relevant to your text and help tell a story.
- Have an idea of which images are important. They will get visual prominence through size and positioning.
- Mix up the orientation of supplied photos – some landscape and some portrait (unless advised otherwise). If you have both landscape and portrait options for an image you love, supply both.
- Advise us if any images must not be cropped.
- Trust your designer’s feedback. They are clever people with a ton of visual expertise.
- Supply images in standard image formats, ideally jpeg and tiff.
- Ensure final images are high-resolution at their intended size. If an image is 300 dpi at 40 x 25 mm, we can only print it at that postal stamp size. If you want it as a gorgeous hero shot on an A4 double-page spread, it needs to be 300 dpi at a minimum size of 426 x 300 mm (i.e. double A4, plus 3 mm bleed).
- Keep an eye on the file size. If a colour image is in the kilobyte range, it’s too small. If it’s sized 2–10 MB, it’s likely fine, though perhaps limited to smaller use. In large-format photography books, image file size will typically range from 20 to 500 MB.
- Know who owns the copyright for each image. If it’s not your organisation, obtain written permission from the copyright holder to use it in this publication.
- Allow up to three months for the process of obtaining image files from museums, libraries and other organisations. You will usually be required to fill out a form, and often pay a fee.
- Enjoy the process! Making a book for the first time can feel daunting but, with patience, determination and the right professional guidance, it always comes together in the end. We are here to answer your questions.
Don’t:
- Choose lots of similar images of the same subject. Instead, pick the strongest of the available variations. Space is precious and repetition loses readers.
- Have your images professionally scanned or your artwork professionally photographed until the project manager has confirmed the final selection. The cost difference between scanning 30 versus 300 images is significant.
- Give image files overly long names.
- Use punctuation and symbols in the file name.
- Give any two files the same name.
- Change any image file names after supplying the images to Fremantle Press. It leads to unnecessary and sometimes costly work.
- Source images from the internet without obtaining a written copyright license. Unless explicitly copyright-free, images have copyright owners. Just because it’s online does not mean you can use it.
- Arrange your images as folders within folders within folders. While in the initial stages it can be useful to divide images into chapters, once the final selection is made, a single folder is preferred.
- Lose sight of the bigger picture. The images are there to help tell a story.
I hope you find these tips useful as you begin to assemble your book’s visual content. Remember, all books start as ideas, so it’s okay to start broad. Once we are working together, we will help you narrow the field.
Alex Allan, CEO


